
.avif)
.avif)
E-commerce is growing rapidly, with more businesses shifting online every day. Among the most popular options is WooCommerce, an easy-to-use and customizable solution that powers millions of online stores worldwide.
In fact, WooCommerce now powers approximately 28% of all online stores globally, making it one of the most trusted platforms in the market. Its ability to scale with businesses of all sizes makes it a top choice for entrepreneurs.
One of the key features WooCommerce offers to help businesses succeed is its loyalty program plugin. These plugins reward customers for repeat purchases, reviews, referrals, and other engagements, helping to build long-term relationships.
In this blog, we will explore the best customer loyalty solutions for WooCommerce and guide you on how to choose the right one for your store’s needs.
Key Takeaway
- WooCommerce loyalty solutions enhance retention, repeat purchases, and lifetime value through rewards, referrals, and personalized engagement.
- The five top programs, Nector, RewardsWP, Advanced Coupons, FunnelKit Cart, and YITH WooCommerce Points and Rewards, cater to different business needs, from multi-channel engagement to coupon stacking.
- Evaluate plugins based on ease of use, customization, integration, cost-effectiveness, and customer support.
- Successful loyalty programs require clear goals, personalized rewards, promotions, and continuous performance tracking.
- Choosing the right loyalty solution drives customer engagement, increases lifetime value, and supports business growth.
What are Customer Loyalty Solutions for WooCommerce?
Customer loyalty solutions for WooCommerce are plugins and platforms that help e-commerce stores retain customers by rewarding purchases, reviews, referrals, and engagement.
These systems offer customizable rewards, tiered programs, referral incentives, and personalized experiences, boosting repeat purchases and customer lifetime value. By automating and optimizing loyalty campaigns, they drive sustained growth and long-term customer retention.
How to Choose the Right Type of Loyalty Program?
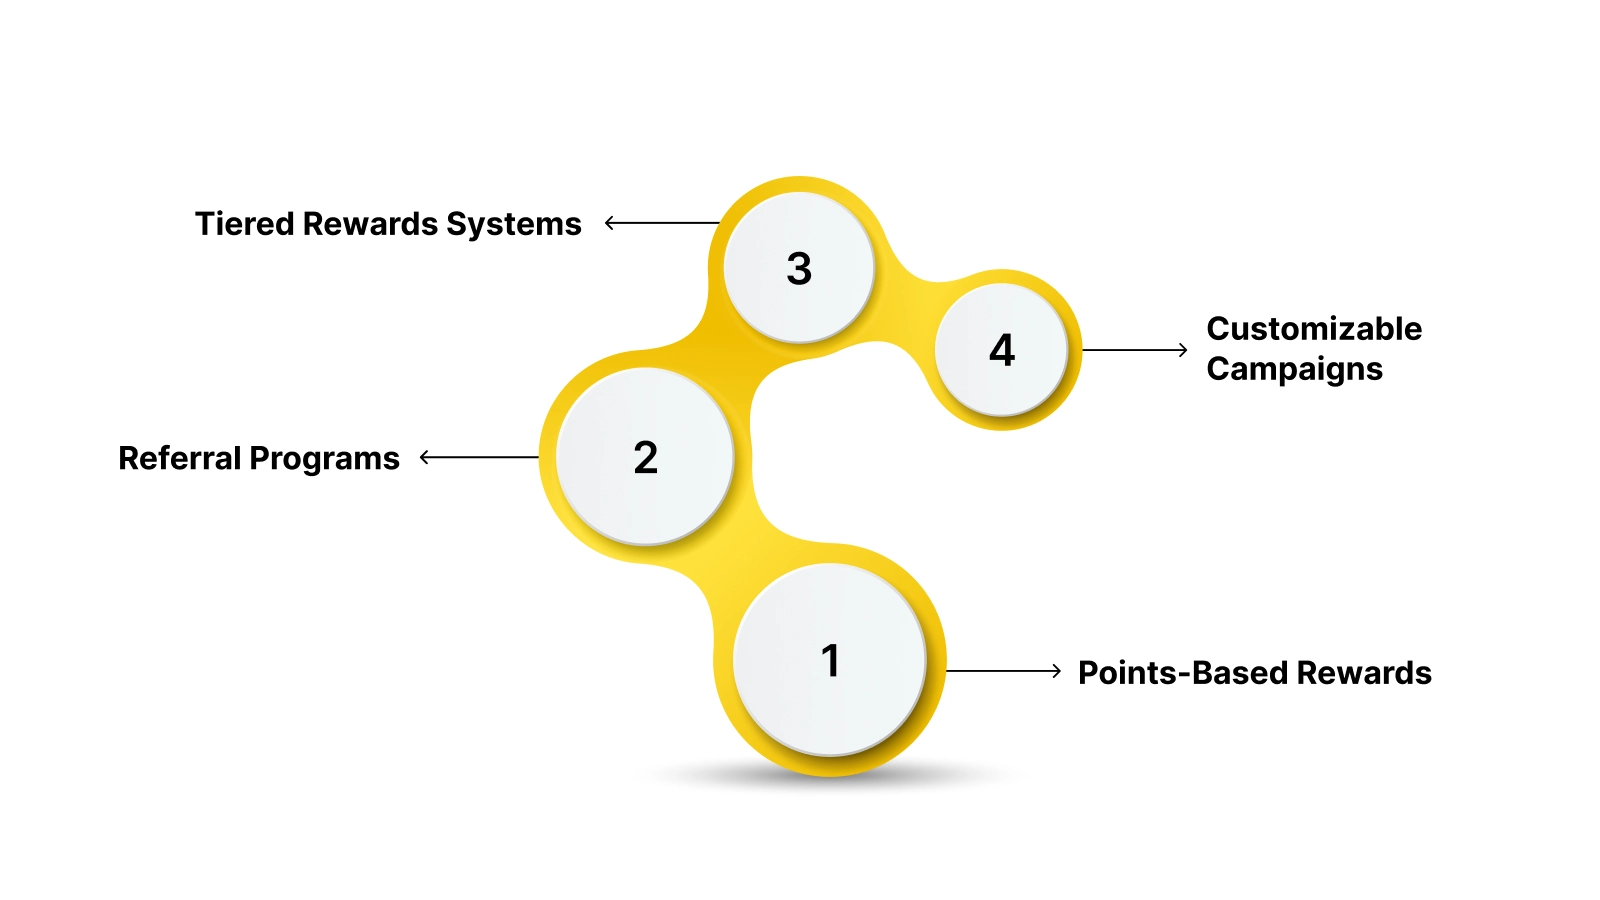
Before diving into the plugins themselves, it’s important to understand the different types of loyalty programs that are available and how they can align with your business strategy.
1. Points-Based Rewards
Points-based rewards are the most popular loyalty program used by WooCommerce stores. Customers earn points for each purchase, review, or action (like referring a friend), which they can later redeem for discounts or free products.
For example, a beauty store might give customers 10 points for every product purchased, and when they reach 500 points, they can redeem them for a free product or discount.
2. Referral Programs
Referral programs incentivize customers to share your store with their friends or family. A typical referral program offers double rewards, one for the referrer and one for the referee. This program works well for businesses that want to expand their customer base through word-of-mouth marketing.
For instance, an online apparel store might reward a customer with 500 loyalty points for every new customer they bring in, and the referral gets 200 points to kick-start their loyalty journey.
3. Tiered Rewards Systems
Tiered rewards systems motivate customers to continue engaging with your store. As customers reach different spending or activity levels, they unlock new benefits such as exclusive discounts, VIP access, or higher reward points per purchase.
For example, a gourmet coffee shop might offer three tiers: Bronze, Silver, and Gold. Bronze customers earn 1 point per dollar spent, while Gold members earn 2 points per dollar and get free shipping.
4. Customizable Campaigns
Customizable campaigns let you design loyalty programs that align perfectly with your brand’s needs. Whether it’s seasonal campaigns, birthday rewards, or product-specific promotions, having the flexibility to customize your loyalty program makes it more engaging for your customers.
For example, a tech gadgets store might create a limited-time campaign for new customers, offering them 100 bonus points for signing up and 50 points for every product review they submit.
Once you've identified the best type for your business, the next step is to evaluate which WooCommerce loyalty plugins align with your goals.
5 Key Factors to Test & Review WooCommerce Loyalty Plugins
When selecting a loyalty plugin for your WooCommerce store, it’s essential to evaluate key factors to ensure the solution aligns perfectly with your goals. Let’s break down the critical aspects you should focus on:
- Ease of Use: A good plugin should be quick to set up and simple to operate, allowing you to launch and manage rewards without technical friction.
- Customization: The plugin should offer flexibility to shape your rewards program, including defining reward actions (purchases, reviews, referrals) and selecting reward types like discounts or free products.
- Integration: It should fit smoothly into your WooCommerce ecosystem, syncing well with tools like CRM platforms, email marketing systems, and POS solutions.
- Cost-Effectiveness: The features should justify the pricing, offering solid value while remaining scalable as your store and customer base grow.
- Customer Support: Strong documentation, responsive chat assistance, and reliable email support are essential for running and troubleshooting your rewards program.
By evaluating these key factors, you can confidently choose the best plugin for your store. Now, let's explore the top 5 customer loyalty plugins for WooCommerce in 2026.
5 Top Customer Loyalty Plugins for WooCommerce to Boost Customer Retention in 2026
Selecting the right customer loyalty solution for your WooCommerce store is essential for boosting engagement and repeat purchases. Each option provides distinct features tailored to meet specific business goals and customer needs.
1. Nector
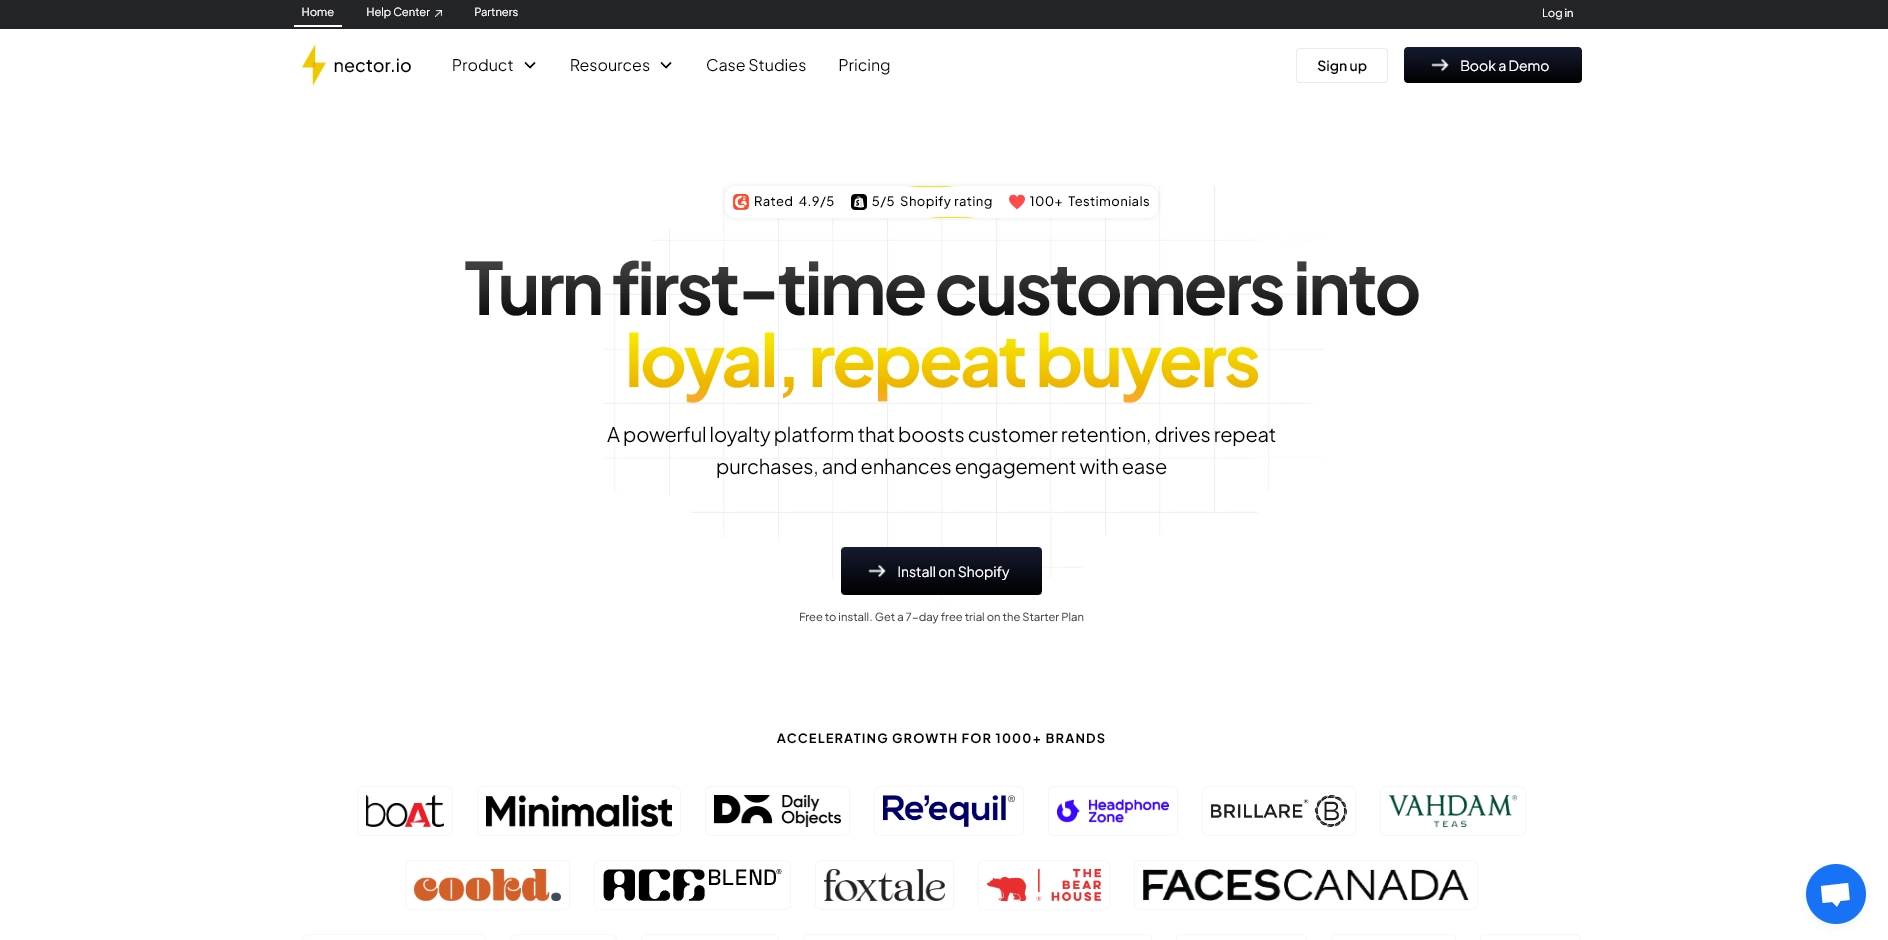
Nector is an all-in-one customer loyalty platform designed to simplify customer retention for WooCommerce stores. It combines points-based rewards, referral programs, tiered systems, and review rewards with powerful analytics, making it ideal for stores of all sizes looking to drive engagement and repeat business.
Key Features:
- Customizable Rewards: Tailor rewards for purchases, reviews, and referrals.
- Multi-Channel Engagement: Engage customers via email, WhatsApp, and SMS.
- Automated Campaigns: Run targeted loyalty campaigns with minimal effort.
- Advanced Analytics: Track customer behavior and refine strategies.

2. RewardsWP
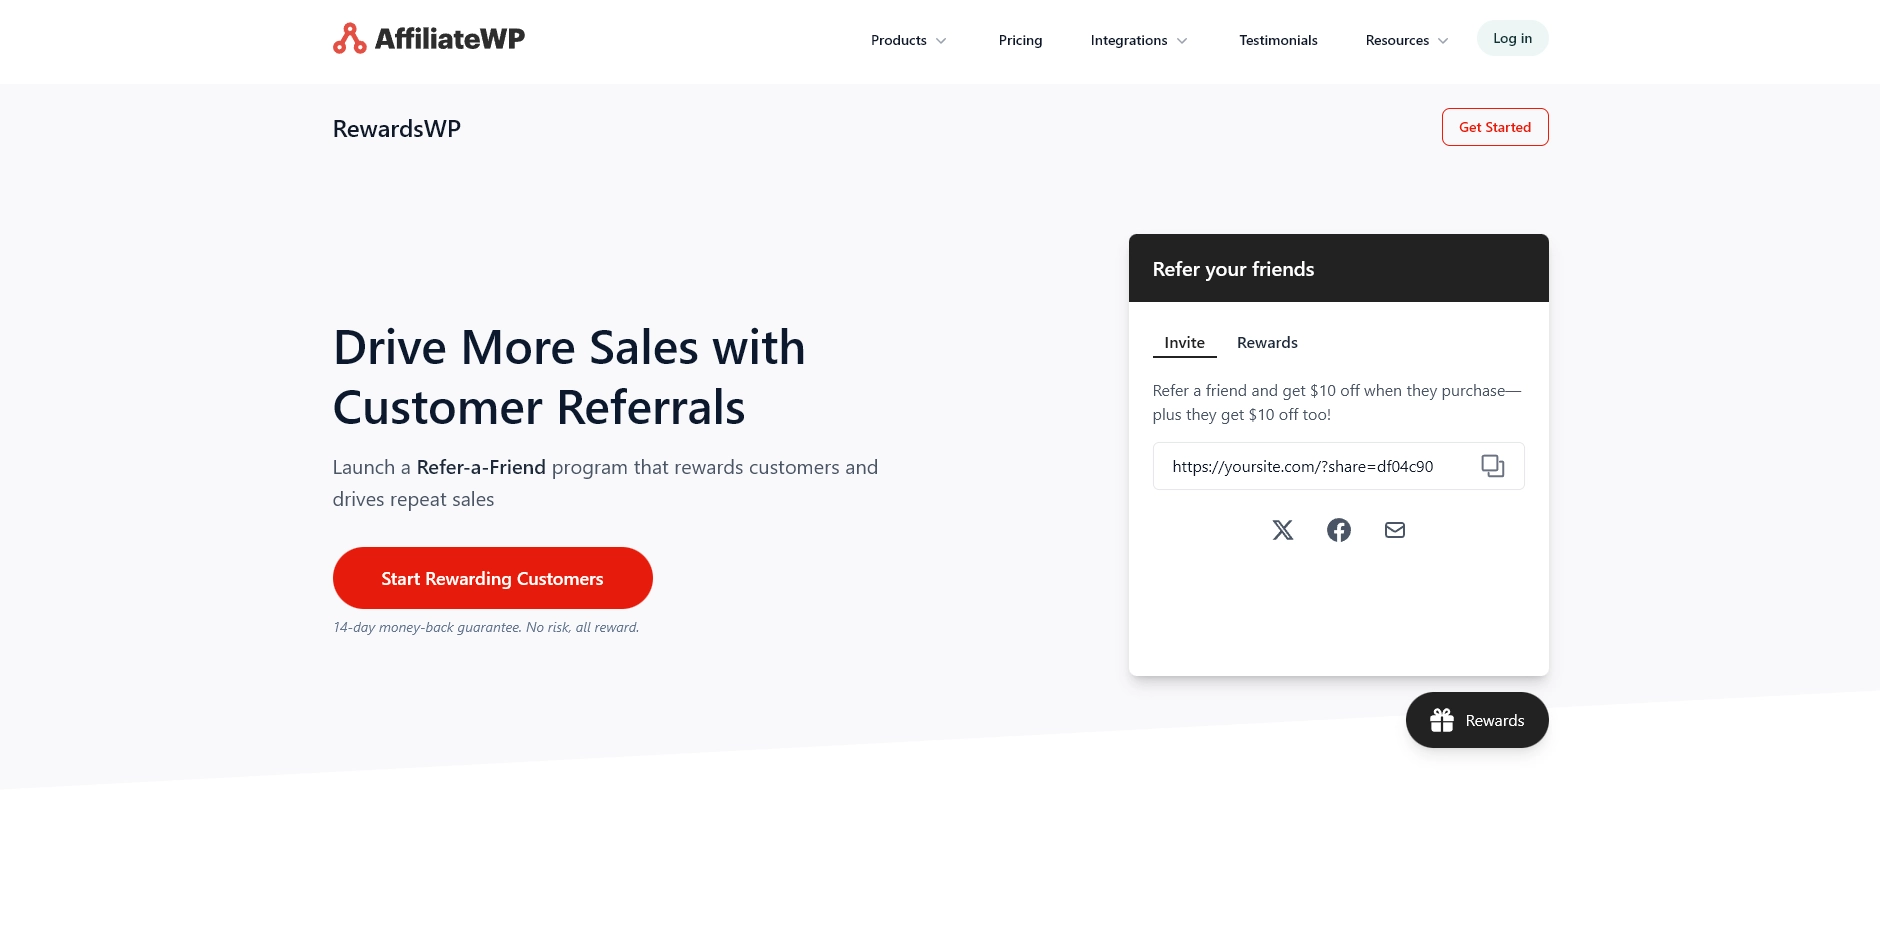
RewardsWP specializes in referral-based loyalty programs. It helps WooCommerce stores expand their customer base through custom referral links and social sharing. Automated reward tracking simplifies referral management and increases customer lifetime value through incentivized word-of-mouth marketing.
Key Features:
- Referral System: Reward customers for bringing new buyers.
- Social Sharing: Enable easy sharing via WhatsApp, email, and more.
- Automated Tracking: Manage rewards automatically without manual input.
- Fraud Protection: Prevent abuse with built-in fraud detection.
3. Advanced Coupons
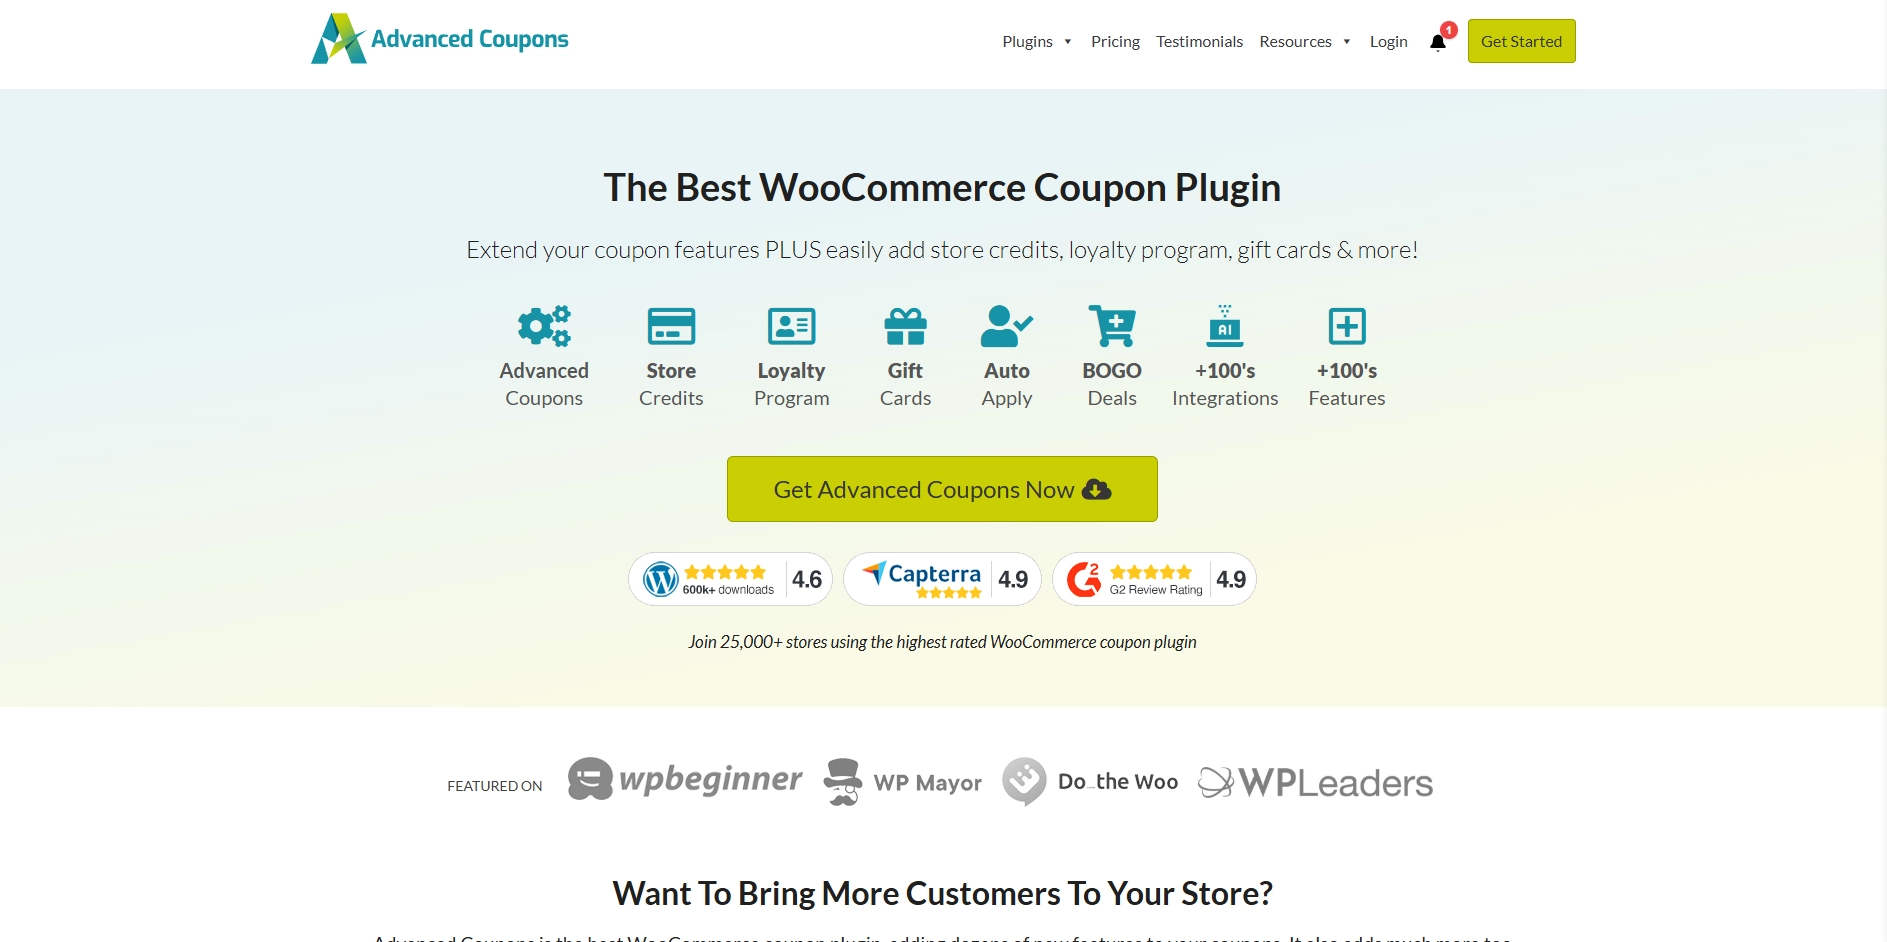
Advanced Coupons enhances WooCommerce stores by adding powerful loyalty functionality to coupon-based marketing strategies. It combines BOGO deals, tiered rewards, and coupon stacking to create a versatile loyalty program. This plugin allows seamless integration of discounts with a robust rewards system.
Key Features:
- Tiered Rewards: Set up multi-level rewards for higher customer engagement.
- Coupon Stacking: Combine multiple coupon rules for better promotions.
- BOGO Deals: Implement Buy One, Get One rewards for loyal customers.
- Referral Integration: Add referral links to coupon-based loyalty.
4. FunnelKit Cart
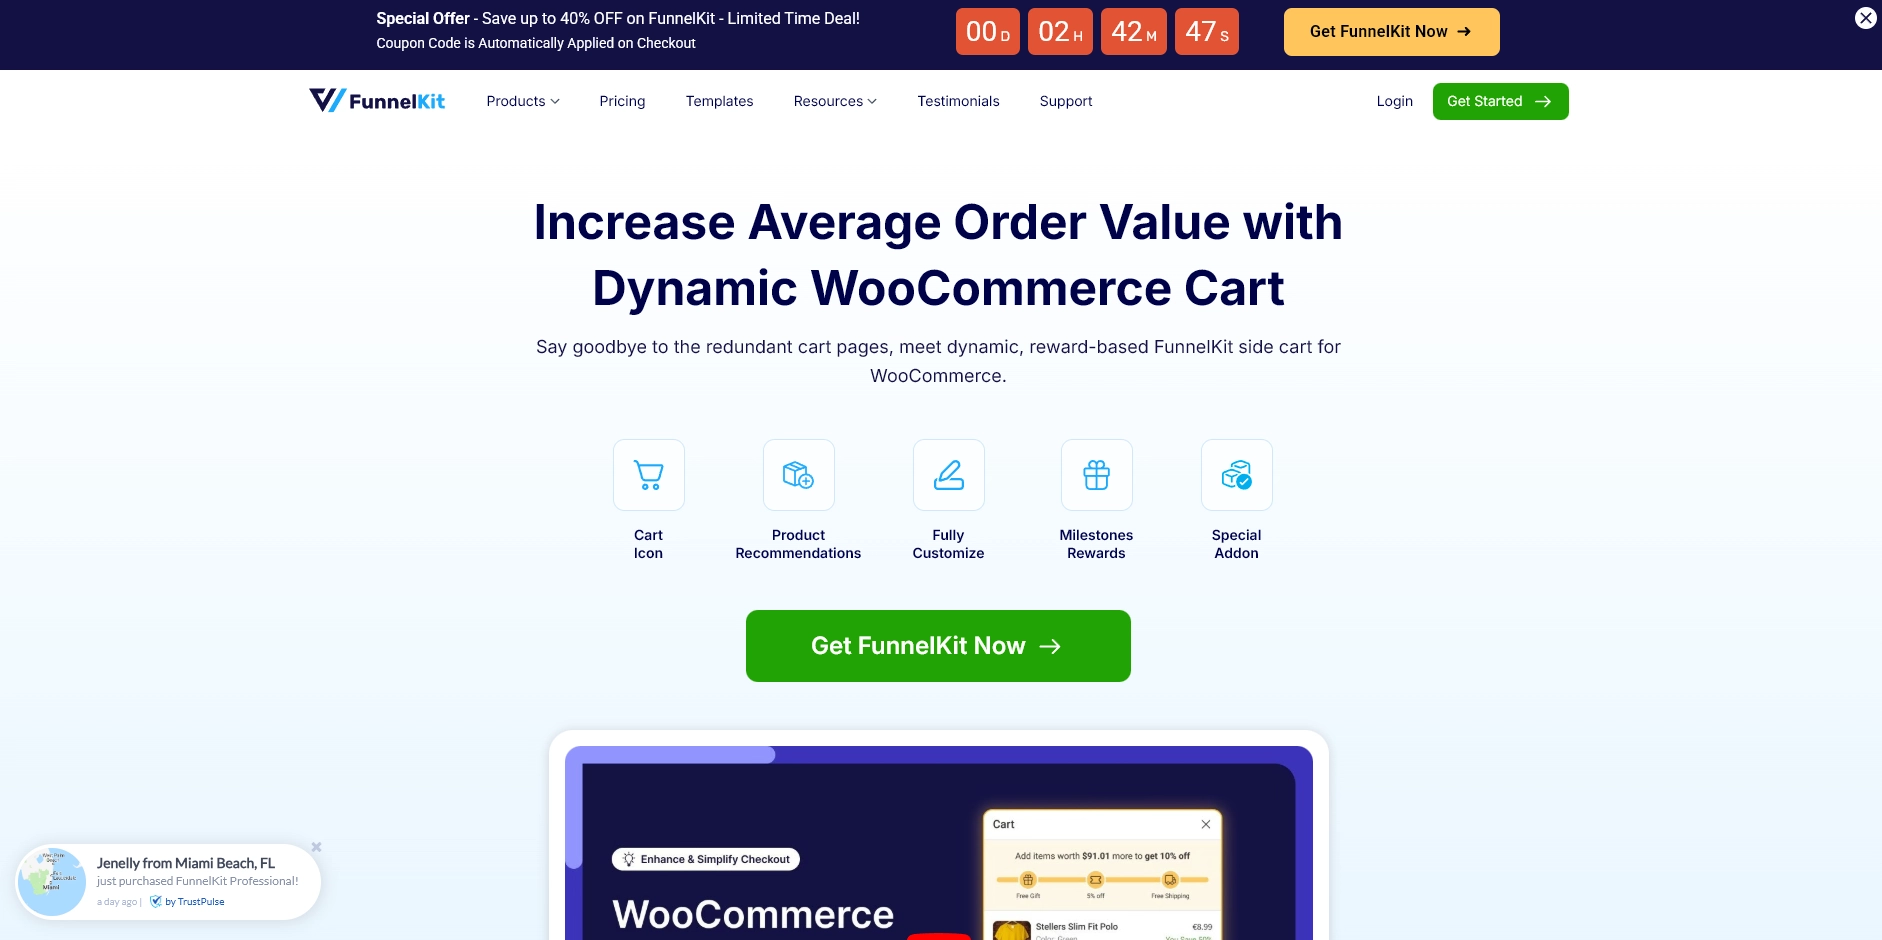
FunnelKit Cart is a WooCommerce plugin that focuses on in-cart milestone rewards, aiming to increase average order value (AOV). It encourages customers to add more items to their cart by offering real-time rewards when specific cart thresholds are met during the checkout process.
Key Features:
- In-Cart Milestone Rewards: Reward customers for reaching cart value thresholds.
- Real-Time Popups: Display rewards instantly during checkout.
- Customizable Rewards: Set different reward types based on cart total.
- Upsell Promotions: Increase order value by offering exclusive rewards at checkout.
5. YITH WooCommerce Points and Rewards
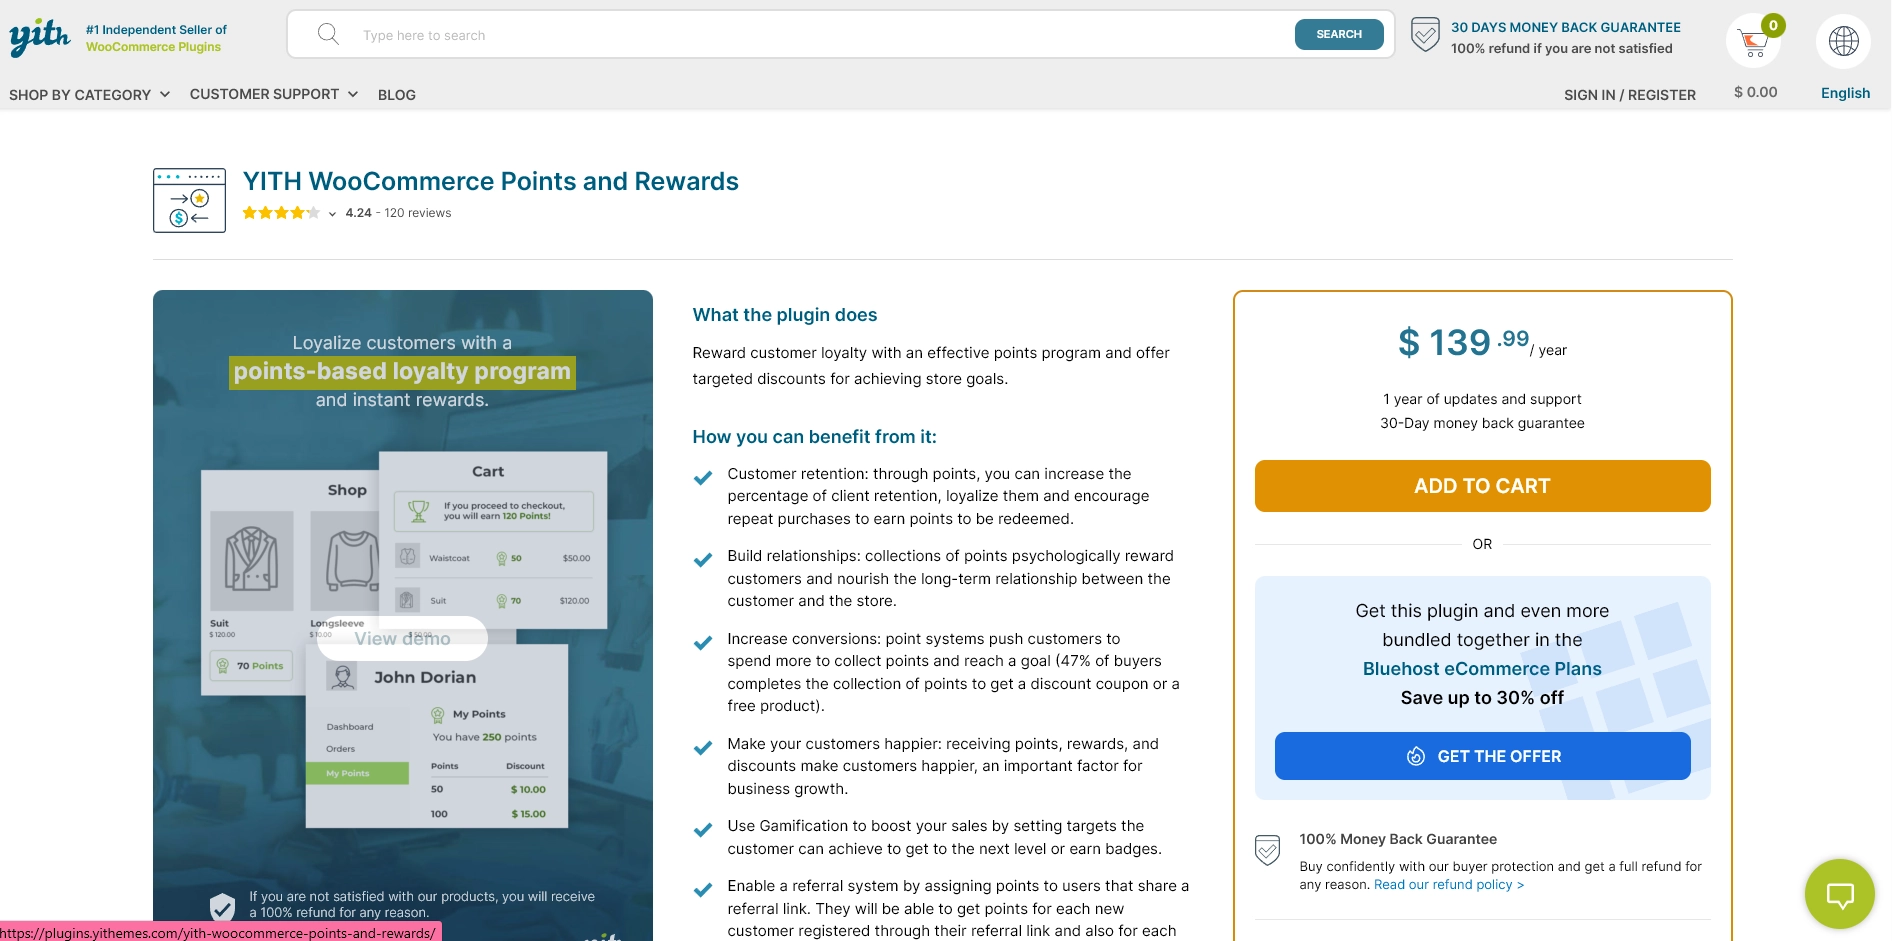
YITH WooCommerce Points and Rewards provides a customizable points system for WooCommerce stores. It allows customers to earn points for purchases, reviews, and referrals, which can be redeemed for discounts. The plugin offers extensive flexibility in defining how rewards are earned and redeemed.
Key Features:
- Customizable Earning Rules: Define point earning based on different actions.
- Points Redemption: Allow customers to redeem points for discounts or free products.
- Tiered Loyalty: Create levels for customers to unlock exclusive benefits.
- Integration with YITH Plugins: Seamlessly integrates with other YITH tools for broader functionality.
By learning these top plugins, you’re one step closer to creating a tailored loyalty program. Now, let’s explore the best practices for implementing a successful WooCommerce loyalty program.
4 Best Practices to Implement a Successful WooCommerce Loyalty Program
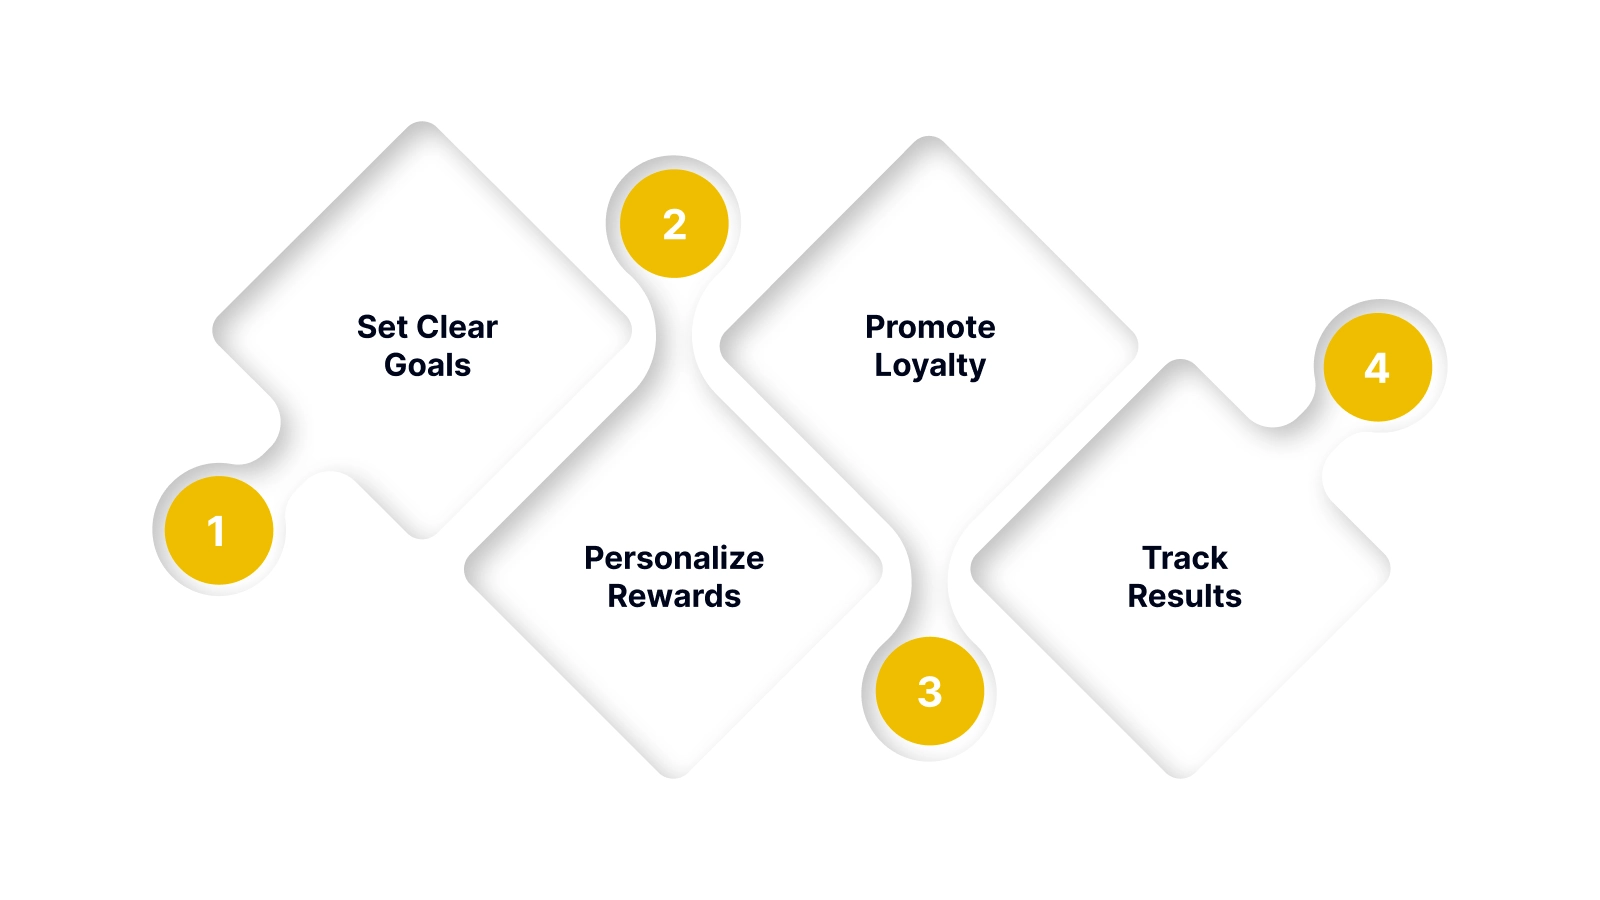
To successfully implement a WooCommerce loyalty program, you need a strategic approach. Start by setting clear goals and understanding how each element of the program can drive meaningful customer actions.
1. Set Clear Goals
Define the purpose of your loyalty program from the start, whether it’s driving more repeat orders, increasing average order value, or encouraging referrals. Clear goals help shape rewards that actually influence customer behavior.
2. Personalize Rewards
Use customer insights to tailor rewards that feel relevant, such as birthday perks, product-specific offers, or personalized recommendations. Personalization makes the program feel valuable rather than generic.
3. Promote Loyalty
Actively highlight your loyalty program across email, social media, product pages, and checkout. The more visible it is, the more customers will engage, and the faster you’ll see results.
4. Track Results
Review your program’s performance regularly and refine it based on customer activity. Adjust reward structures, timing, or messaging to keep engagement high and ensure the program continues to deliver value.
By following these best practices, you can ensure your loyalty program not only engages customers but also continuously evolves to deliver maximum value.
Conclusion
Implementing a loyalty program for your WooCommerce store is essential to drive repeat purchases, enhance customer retention, and increase lifetime value. The right loyalty solution helps you engage customers meaningfully, whether you seek simplicity, advanced customization, or multi-channel integration.
Nector provides an all-in-one loyalty platform that automates processes, delivers personalized rewards, and offers powerful insights, making it an ideal choice for growing WooCommerce stores. It integrates seamlessly with your store, offering flexibility to tailor your program to your specific needs.
Boost your WooCommerce store’s repeat purchases and customer retention with Nector. Start your free trial today and create a fully automated, points-based loyalty program that rewards purchases, referrals, and reviews.
Frequently asked questions
How to implement a customer loyalty program in WooCommerce?
To implement a loyalty program, install a loyalty plugin (e.g., Nector), configure earning and redemption rules and promote it across key store pages. Then, monitor performance through reports to optimize for engagement.
Who offers the best loyalty program system for online stores?
Nector offers a comprehensive loyalty solution with points-based rewards, referral programs, tiered systems, and review incentives. Its automation, multi-channel engagement, and advanced analytics make it ideal for growing WooCommerce stores.
Can loyalty programs backfire?
Yes, loyalty programs can backfire if rewards are too easy or hard to redeem, or if they aren’t clearly communicated. Poor execution or irrelevant rewards can lead to disengagement or customer dissatisfaction.
What type of rewards should I offer in my WooCommerce loyalty program?
Offer rewards like discounts, free products, exclusive access, gift cards, or loyalty tiers. Tailor them to your customer preferences and business goals to drive engagement and repeat purchases effectively.